
EC2 Instance Hands On
Let’s walk through how to create an Amazon EC2 instance step by step, hands-on style. I’ll use the AWS Management Console (web UI) since that’s the most common way for beginners, and mention CLI alternatives as well.
Step 1: Sign in to AWS Console
- Go to AWS Console.
- In the search bar, type EC2 and open the EC2 service dashboard.
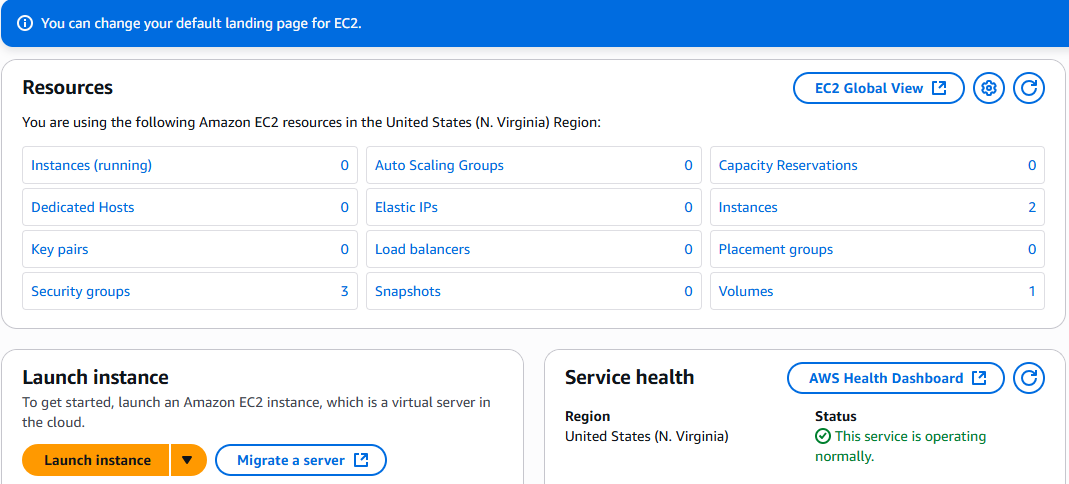
Step 2: Launch an Instance
- Click Launch instance.
- Enter an Instance name (e.g., webserver-01).
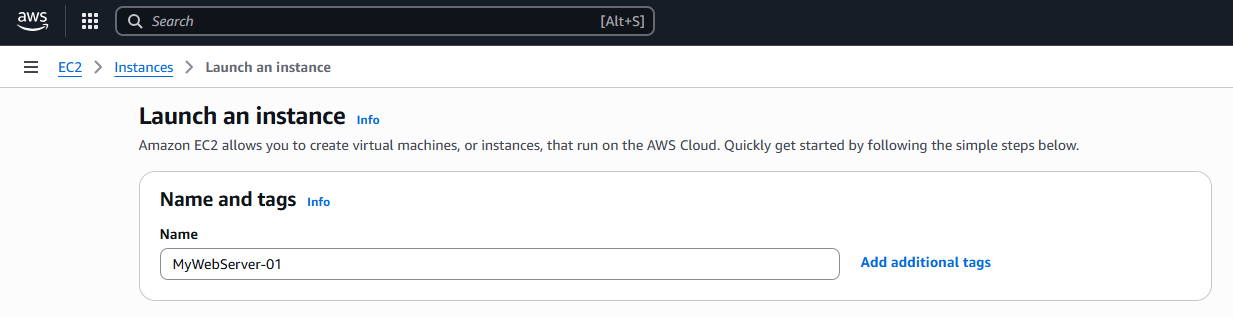
Step 3: Choose an Amazon Machine Image (AMI)
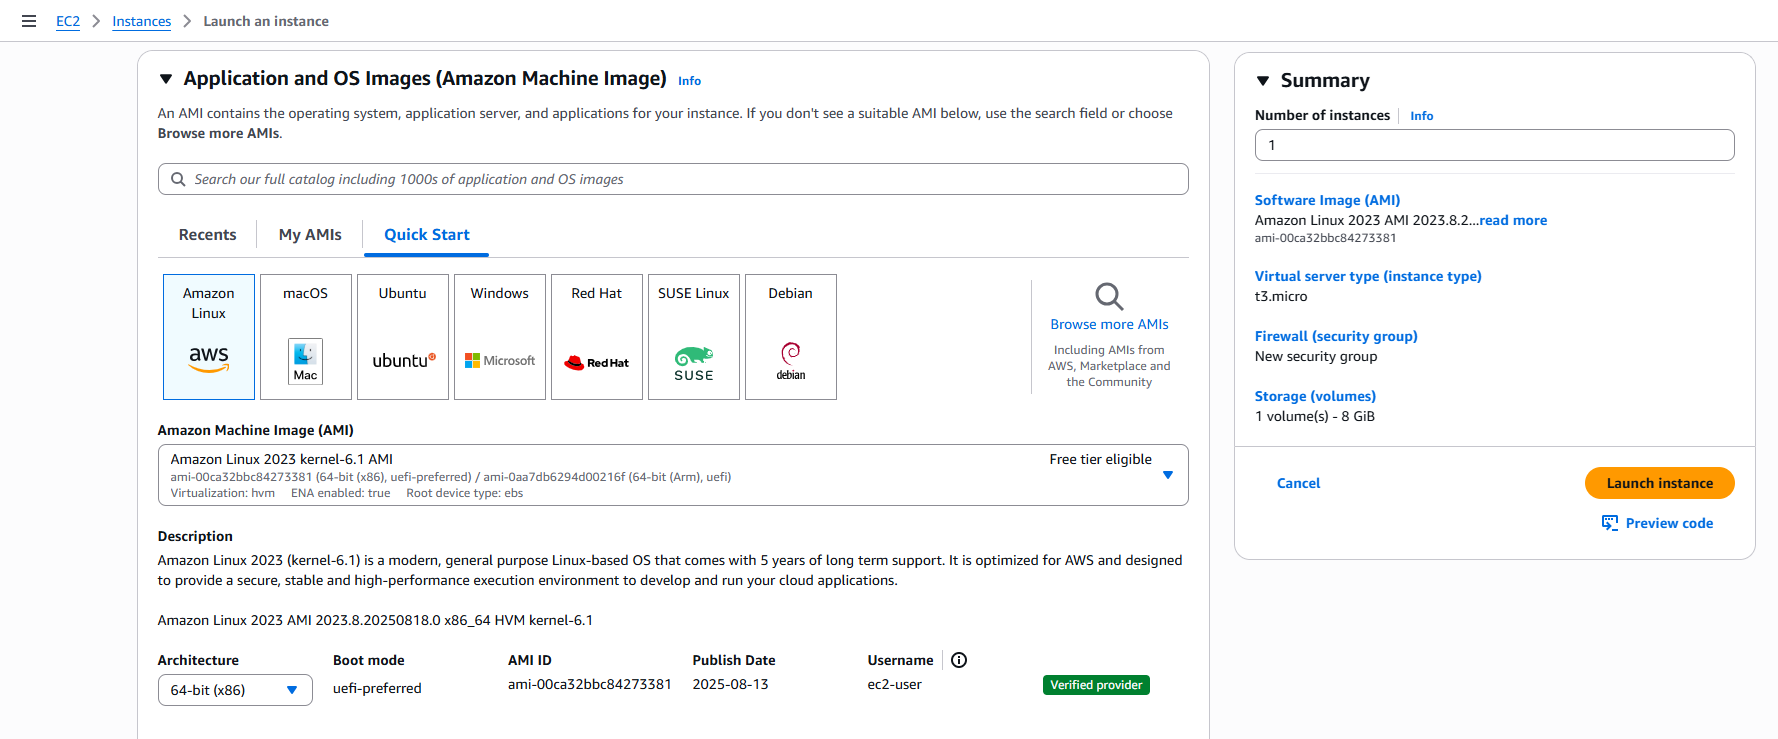
- Select the OS template. For example:
- Amazon Linux 2 (Free tier eligible) if you want a Linux environment.
- Or Ubuntu 22.04 LTS if you prefer Ubuntu.
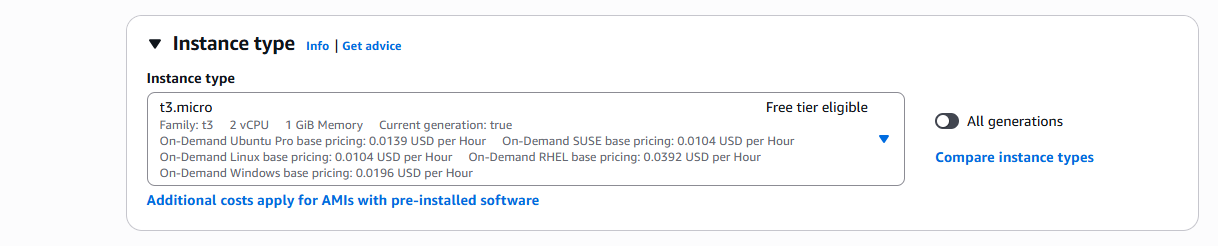
Step 4: Choose Instance Type
- Select t2.micro (Free tier eligible).
- If you need more CPU/RAM later, you can choose larger instances.
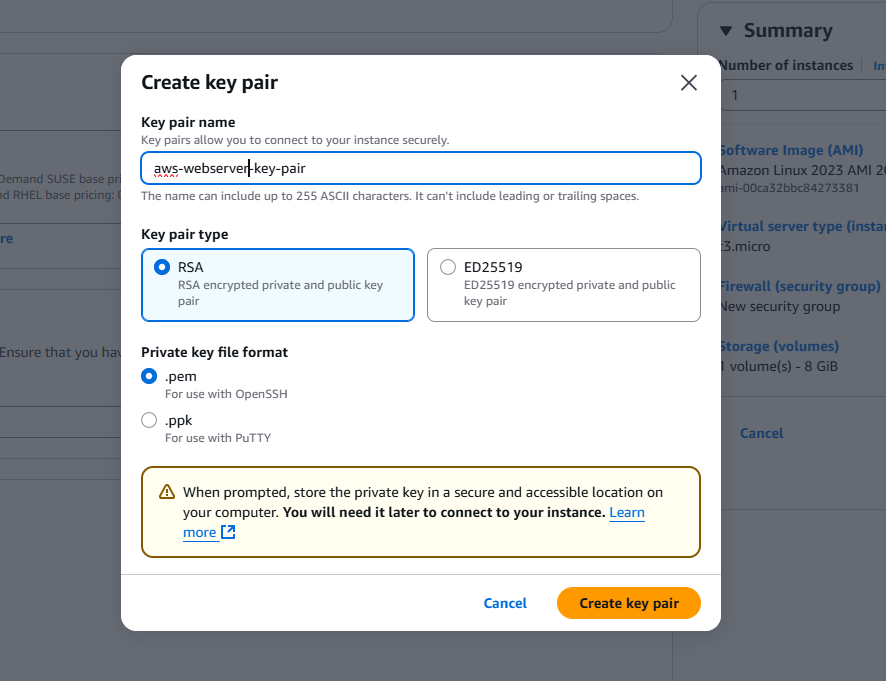
Step 5: Configure Key Pair (Authentication)
- Under Key pair (login):
- If you don’t have one, create a new key pair (choose
.pemfor SSH). - Download the key file and keep it safe (you’ll need it to connect).
- If you already have one, select it.
- If you don’t have one, create a new key pair (choose
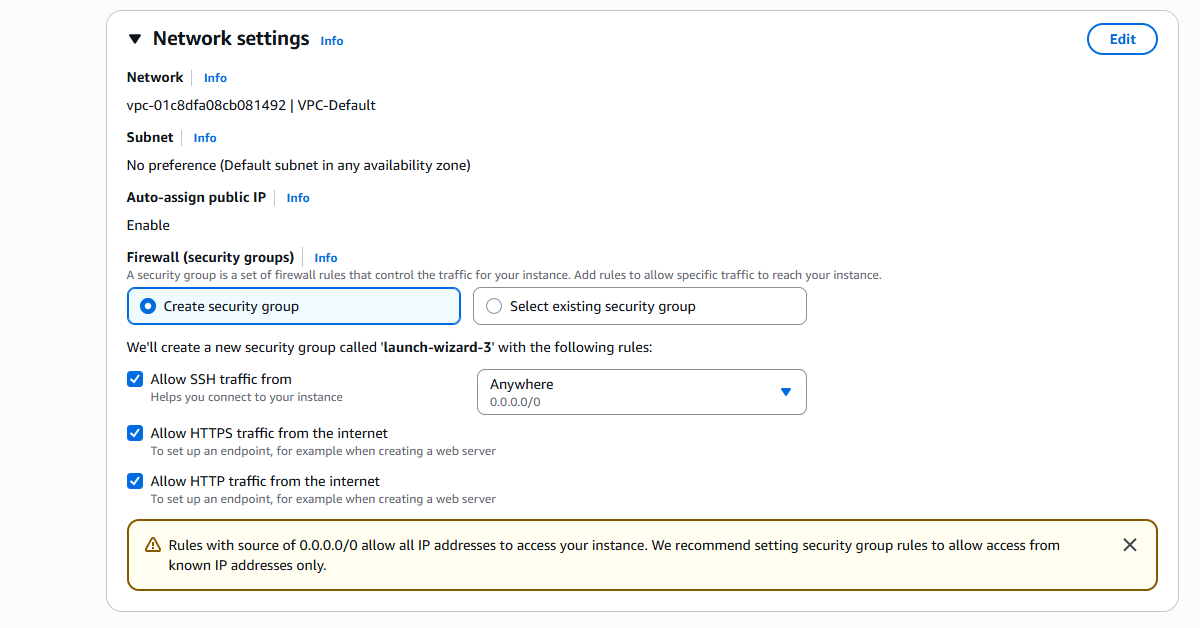
Step 6: Network Settings (Security rules)
- By default, AWS provides a security group.
- Ensure you allow SSH (port 22) to connect from your IP.
- If you plan to host a web app:
- Allow HTTP (port 80)
- Optionally HTTPS (port 443)
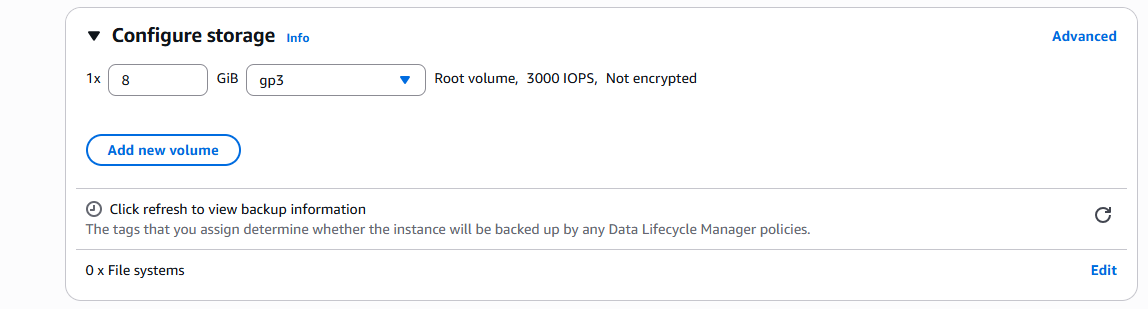
Step 7: Configure Storage
- By default, you might get 8 GiB EBS storage.
- You can increase it if required.
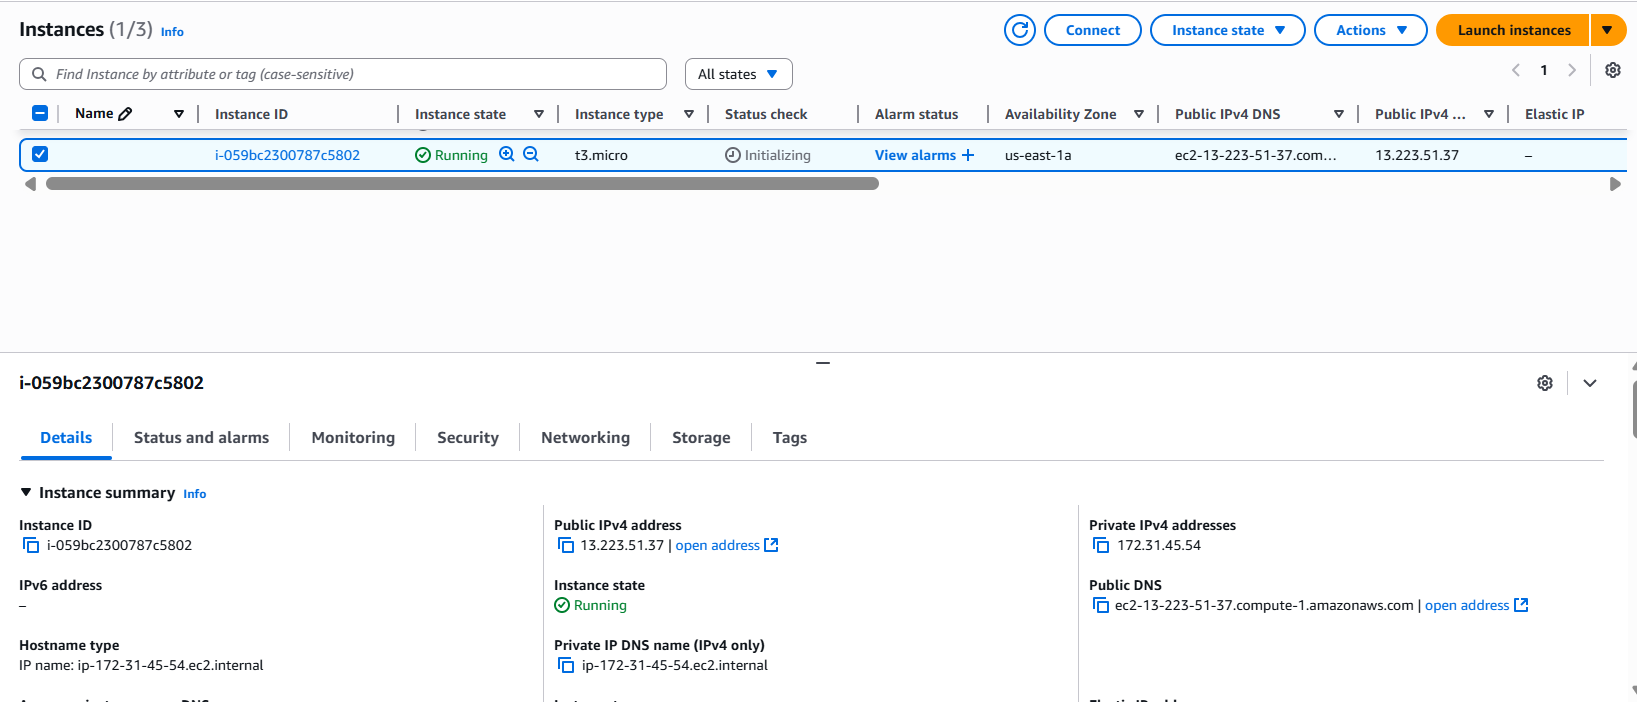
Step 8: Launch Instance
- Click Launch instance.
- AWS will start provisioning. Within a couple of minutes, it will be running.
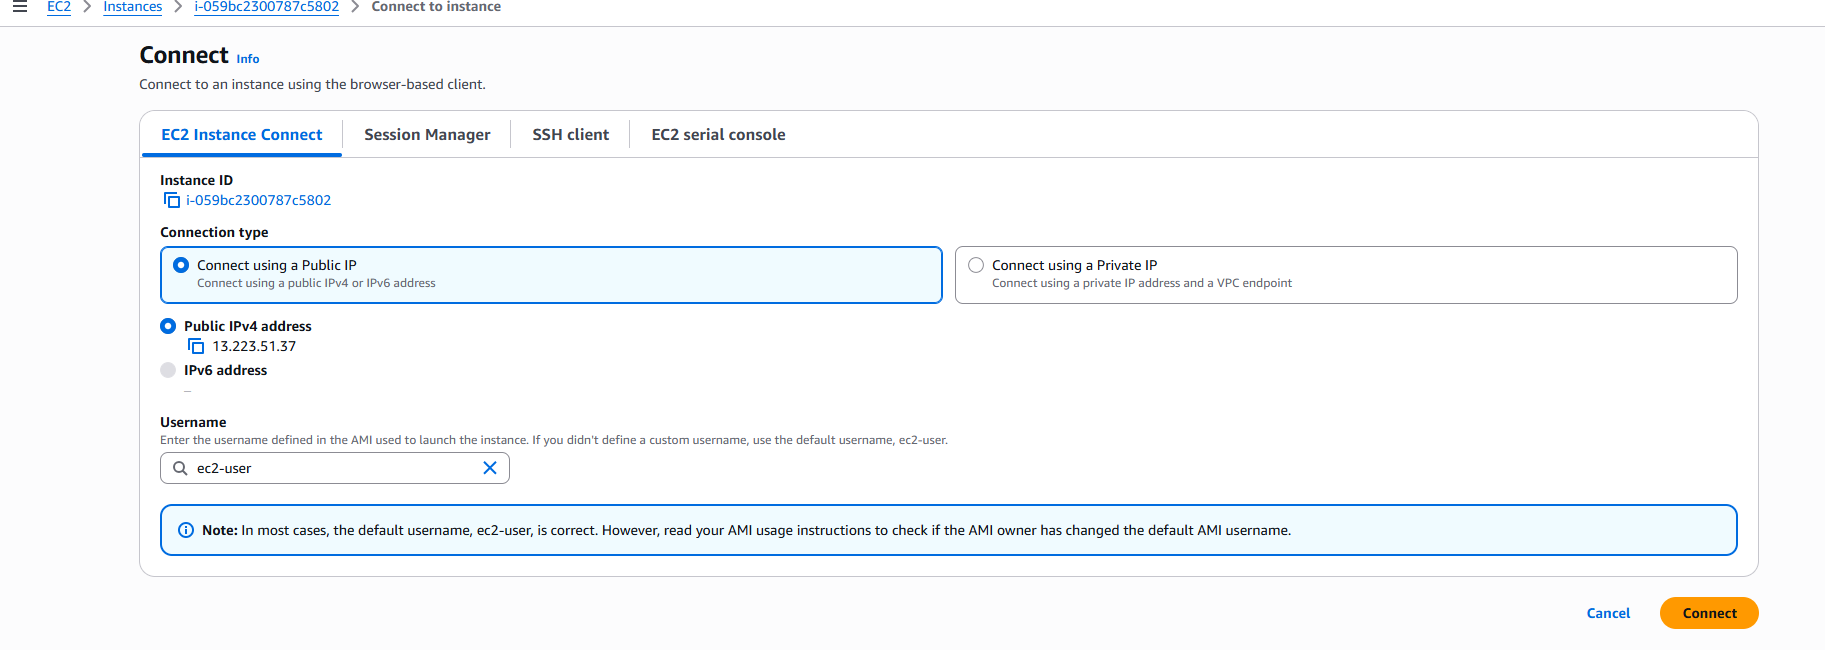
Step 9: Connect to Your Instance
From Instances → Select your instance → Connect.
Options:
Using Browser SSH (no setup needed):
Click "Connect" → "EC2 Instance Connect".
Using terminal SSH (with .pem key):
chmod 400 MyKeyPair.pem
ssh -i MyKeyPair.pem ec2-user@<Public-IP>
For Ubuntu AMIs, use ubuntu@<Public-IP> instead of ec2-user.
Step 10: Test
Once connected, we can run:
sudo yum update -y   # Amazon Linux
# or
sudo apt update && sudo apt upgrade -y  # Ubuntu
Installing Apache Server command
sudo yum install -y httpd # Amazon Linux
sudo systemctl start httpd
We can install Apache server and add static web page through User Data setup.
User just need to add command in the user data filed during Instance creation.
Here’s a User data script example for Amazon Linux 2:
#!/bin/bash
# Update system
sudo yum update -y
# Install Apache HTTP server
sudo yum install -y httpd
# Start Apache service
sudo systemctl start httpd
sudo systemctl enable httpd
# Create a custom index.html
sudo echo"<html><h1>Welcome to My EC2 Apache Server!</h1></html>">/var/www/html/index.html